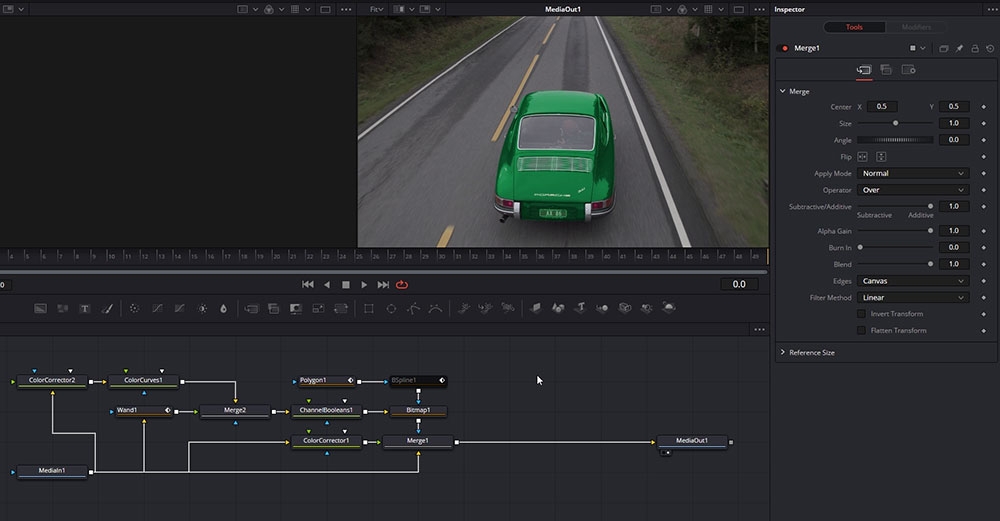
Rotoscoping in DaVinci Resolve Fusion
Lee Lanier
The art of rotoscoping is probably the most important skill to master for everyone working with visual effects and compositing.
Rotoscoping is frequently used as a tool for removing unwanted objects, separate objects from the background so they can be placed on top of other elementsm isolating color, effects or parts of your image, cleaning-up green screen composites and much more.
Rotoscoping can be a very difficult, time-intensive process that ends with a bad result, but in this course you will learn techniques to work fast, intuitive, with great precision and have fun with your work.
The rotoscoping course is taught by Lee Lanier which has written several books on the topic and teached rotoscoping techniques at the Gnomon School of Visual Effects in Hollywood. The first part of the course Lee will demonstrate basic techniques, and as the course progress he will move on to more advanced topics.
The course is taught in DaVinci Resolve but users of other tools (NUKE, After Effects, Flame, Silhouette etc) can also benefit from taking this course.
The footage and assets used in this course are available for download so that you can easily follow along.
About the instructor
Lee Lanier has created visual effects on numerous features films for Walt Disney Studios and PDI/DreamWorks. Lee is a world-renowned expert in the video effects field, and has written several popular high-end software books, and taught at the Gnomon School of Visual Effects in Hollywood.
Who is this course designed for?
- Compositors
- Editors
- Colorists
Lessons overview
- 01: Introduction
- 02: Color Power Windows
- 03: Color Window Tracking
- 04: Masking in Fusion
- 05: Using masks with merge tools
- 06: Custom masking in Fusion
- 07: Rotoscoping in Fusion
- 08: Masking toolbar options
- 09: Using double edge masks
- 10: Advanced masking options
- 11: Creating luma masks in Fusion
- 12: Other Luma Mask techniques
- 13: Using the Color Qualifier
- 14: Importing and exporting masks
- 15: Mask tracking in Fusion
- 16: Paint tools in Fusion
Software required
DaVinci Resolve
Become a premium member and get instant access to all the courses and content on Lowepost.
-
 5
5
-
 3
3
Recommended Comments
Join the conversation
You can post now and register later. If you have an account, sign in now to post with your account.
Note: Your post will require moderator approval before it will be visible.