Imaged Based Hald CLUT Workflow
By Lowepost
There are some limitations with LUT generation in DaVinci Resolve. One is the missing ability to add good enough metadata to the LUT, and that’s important because it’s used to inform the user about things like what color space it requires, the display it’s designed for, copyrights and size.
Another limitation is that the LUT generation simply ignores some of your grades if you have applied unsupported effects or DCTLs to your node structure.
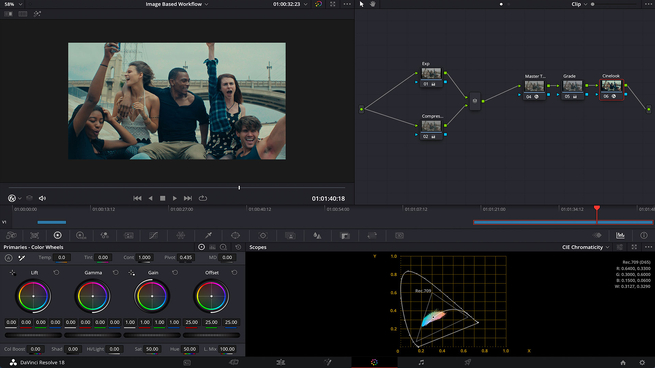
In the following example we’ll explain how to generate a LUT with a combination of supported and unsupported effects and plugins, in less than a minute.
1. Include all grades
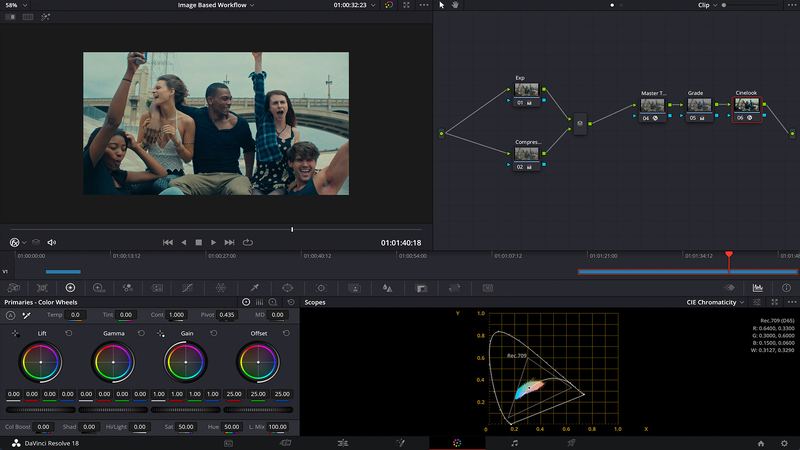
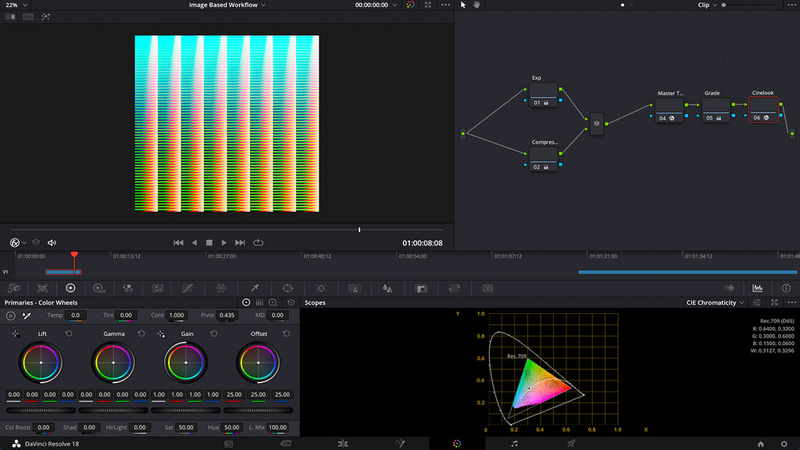
Go to the shot with the grade you want to export, and confirm that all the nodes you want to include are enabled. Then, grab a still of the finished grade.
2. Hald CLUT (Hald Color Look-up table)
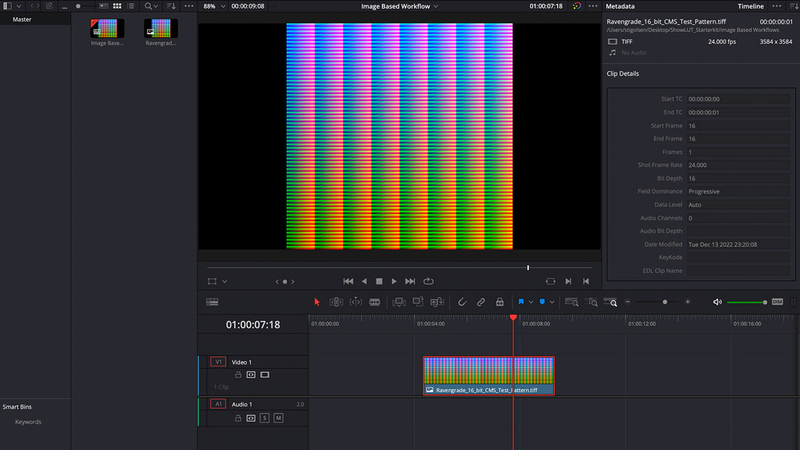
Download the Hald CLUT image from the free Look Development Starter Kit by Ravengrade and import it to your timeline.
A Hald is basically a 2D pattern that can store the same color values as a 3D LUT, and with the same high precision. Be aware that not all Hald images available are designed good enough to store high-precision values, it depends on the size and the bit depth. The higher size and bit depth, the more precision. The recommended size is 3x64 and the bit depth should be 16 bit. To check the bit depth of your Hald image inside of Resolve, click the clip in the editing section and the information will be available inside of the metadata clip details.
The Hald image in the Look Development Starter Kit fullfills the requirements for high-end image based workflows, so you don't need to look any further.
3. Resolution
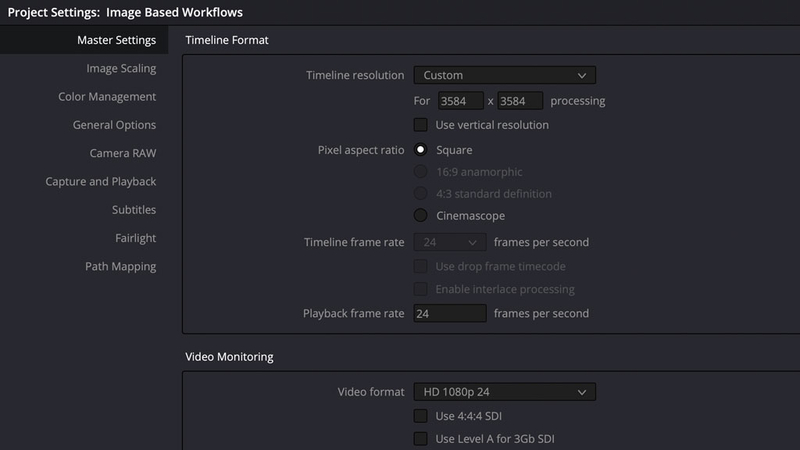
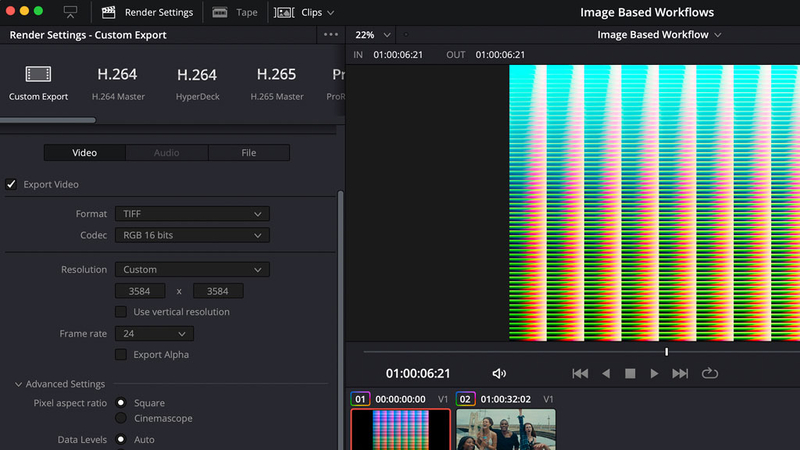
Change the resolution of your timeline to match the resolution of the Hald image. In this example the Hald image is 3584x3584, so the timeline resolution should be set accordingly. Note that if only one of the pixels are set incorrectly, the grade will not transfer correctly so this is a critical step.
4. Copy the grade
Now it's time to copy the grade from the still you have saved in the first step, and apply it to the Hald image.
5. Export TIFF
In the delivery tab, set the in and out points to mark one frame of the Hald image, and render it out as TIFF RGB 16 bits. That's an uncompressed format that contains all the color information you need.
This content is only available for premium members, please login or subscribe to read the rest of the article.
-
 2
2
-
 1
1
Recommended Comments
Join the conversation
You can post now and register later. If you have an account, sign in now to post with your account.
Note: Your post will require moderator approval before it will be visible.