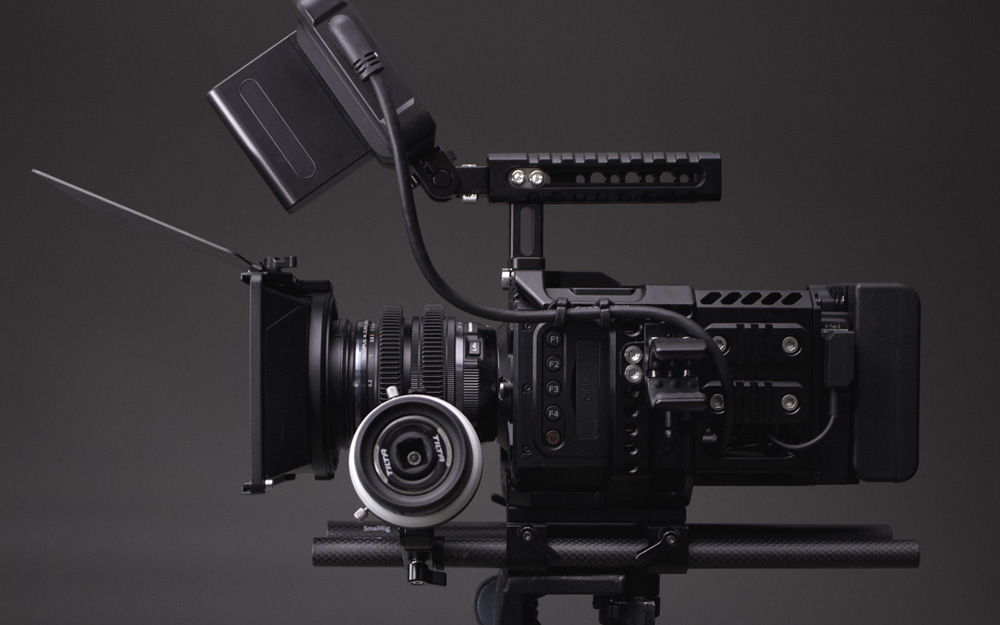
How To Build The Ultimate Z CAM
Stig Olsen
You have probably heard about the newcomer in the world of high-end cameras, the Z CAM? The high-quality professional camera has quickly become a real competitor to the more expensive cameras because of its up-to-8K resolution, high frame rates, modular design, and cinematic look.
In this guide, we will show you how to build the Ultimate Z CAM rig!
THE STARTING POINT
When you buy the camera, it comes with a square camera body only and you will have to rig it out to fit your needs. The modular camera system can be customized to fit the needs of small run-and-gun productions, gimbal and drone work, or large-scale-productions with tons of accessories.
Let’s look at what you need to build this little square camera module into a production-ready high-end camera!
CAGE AND Z-BACK
The first thing to look for is a custom-fitted camera cage. There are many reasons to add a cage such as ergonomics and protection, but the main reason is to add mounting points to customize the camera to your needs.
Tilta, Kondor Blue, Nitze, 8Sinn, and several others produce cages for Z CAM, but we went for the Smallrig cage because of its versatility, mounting options, and industrial look.
Smallrig also have a dedicated back module called the “Z-back,” that can be attached to the back of the main camera cage to add even more mounting holes, and nato rails to attach accessories. In addition, it's an excellent module to protect and hide cables going into the back of the camera body.
MONITOR
All modular cameras need an external monitor, and most users go for a 5” or a 7” size. The most popular one for the Z CAM is the Ninja V 5.2” from Atomos because it can control the key functions of the camera from the touchscreen, and acts like a Prores RAW recorder for those who don’t want to deal with a ZRAW workflow in post.
For this particular rig, we went for a cheaper alternative, the Shinobi from Atomos. It lacks support for camera control, but for our use we don't find it necessary because the camera body has programmable buttons easily accessible.
There are some other alternatives on the market, and two of the most popular are the SmallHD Pro Focus and Portkeys BM series. The first one is the industry standard but lacks HDMI input, so you’ll need an HDMI to SDI converter on the back of the Z CAM to make it work. The latter comes with HDMI and can control the camera, but has a noisy fan like the Atomos. It’s also worth noting that the Z CAM community is a bit annoyed by Portkeys’ absent customer support.
In the 7-inch monitor range, have a look at the Swit/Osee 7, and for an even larger screen, the 9” BM090 from Flanders Scientific (FSI) is definitely worth looking into. It’s a miniaturized version of FSI's high-quality large-format monitors and is packed with useful features.
HANDLES
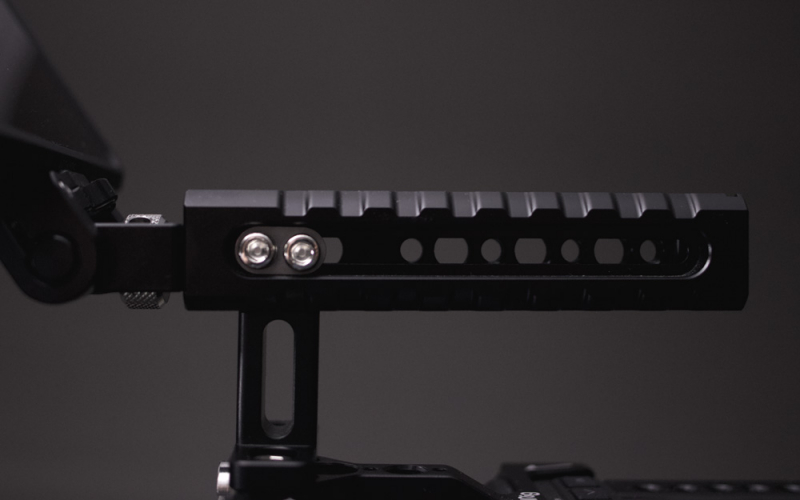
There are many handles on the market that can be attached to the camera cage, and we went for Smallrigs top handle grip with locating point for Arri because of its ergonomic and industrial design. This top handle also has mounting holes for a tilt monitor mount in front, which is important for center aligning the monitor for better balance. You can even slide it in both directions or swap the handle 180 degrees for situations that require a different grip.
For additional grip, the camera cage comes with an Arri Rosette mount that can be used to attach a side handle.
BATTERY SYSTEM
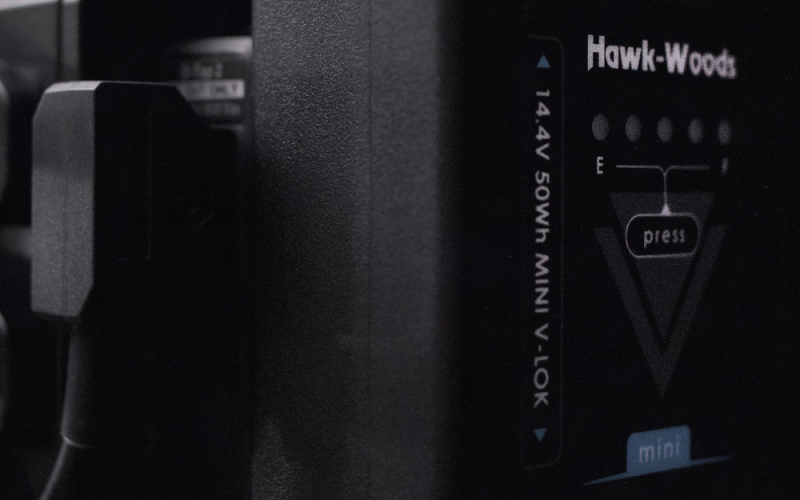
The Z CAM body can take a small Sony NP-F series battery, but for more power, consider adding a V-mount battery. For lightweight rigs, a Micro V-mount solution such as the IDX P-Vmicro, paired with micro-batteries, e.g., the Mini V-LOK batteries from reputable Hawk-Woods is a good choice. It looks good and adds weight to the back of the camera, which is good for balancing.
Hawk-Woods also have Sony-compatible batteries that are just as good and cheaper than the originals if you prefer the original NP-F built-in battery mount.
Additionally, all the monitors mentioned above come with NP-F mounts, so make sure to grab a lightweight but powerful battery for your monitor too.
AUDIO
Even though the internal audio can be good enough in some situations, it can’t beat external audio. Internal audio often comes with excessive amounts of hiss when gained up, and the only way to get a clean audio signal from the camera is to use an external audio adapter.
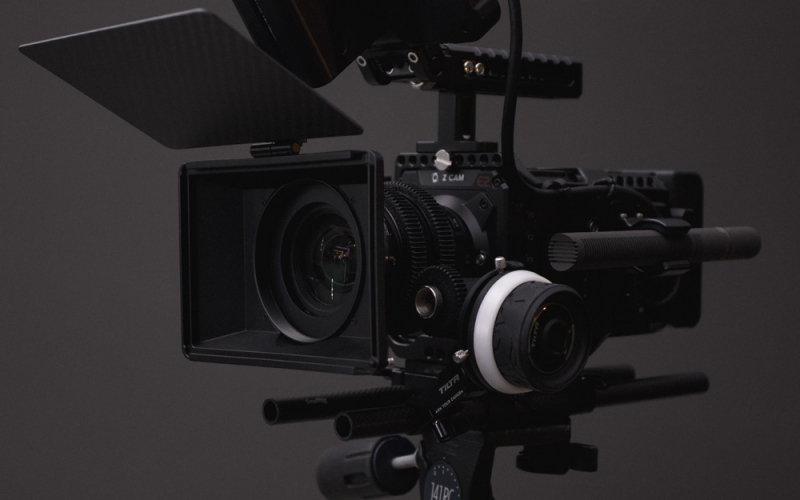
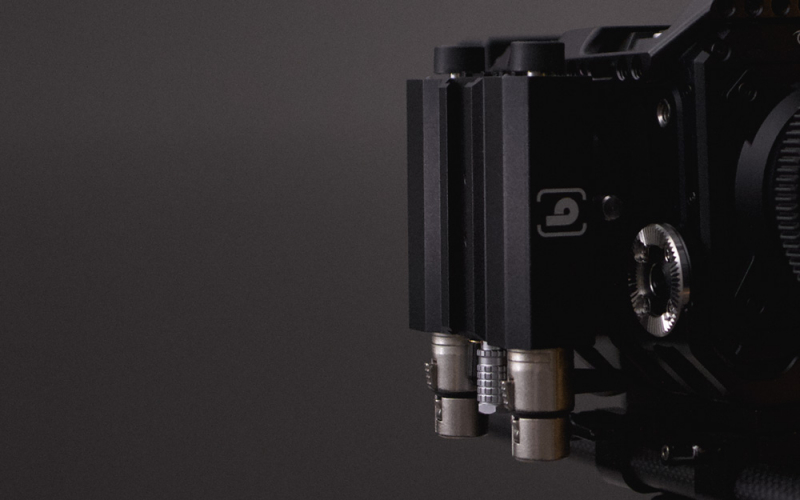
We choose DXA-RED from Beachtek, which comes with two phantom-powered XLR-inputs, and we connected it to our MKH 8060 Sennheiser condenser microphone.
By using an adapter, the preamps in the camera can stay on low gain for best performance while the adapter does all the heavy lifting. That way we can push the gain and get high-quality audio.
The DXA-RED also integrates nicely because of its industrial design, and can be mounted directly on the rods with rail blocks or installed on the side with the click-release plate it’s delivered with.
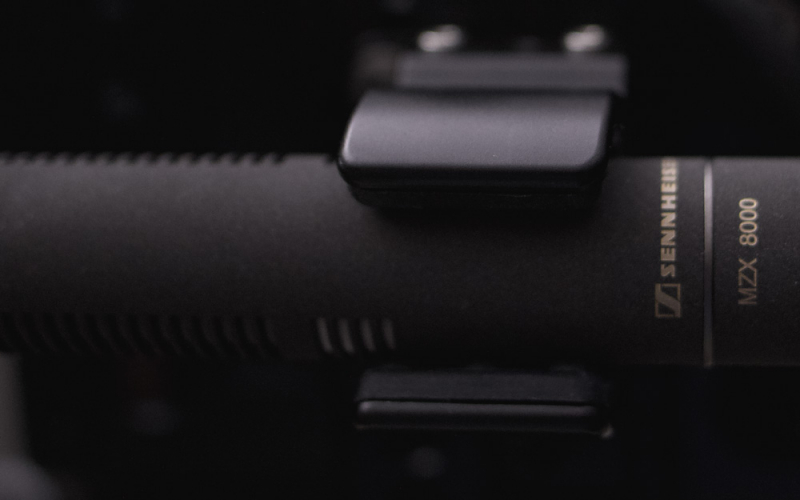
The MKH 8060 from Sennheiser is the state-of-the-art shotgun microphone for cinema cameras and is an improved version of the legendary MKH 416. Even though they are quite similar in sound and reach, the MKH 8060 is a modular and shorter shotgun microphone, and therefore ideal for small camera systems like this. Its off-axis sound is not affected by any coloring and it has a lower end, which is often required by filmmakers.
It can be mounted directly on the cage with a 1/4”-20 screws microphone holder or a cold shoe microphone mount.
LENS AND LENS EQUIPMENT
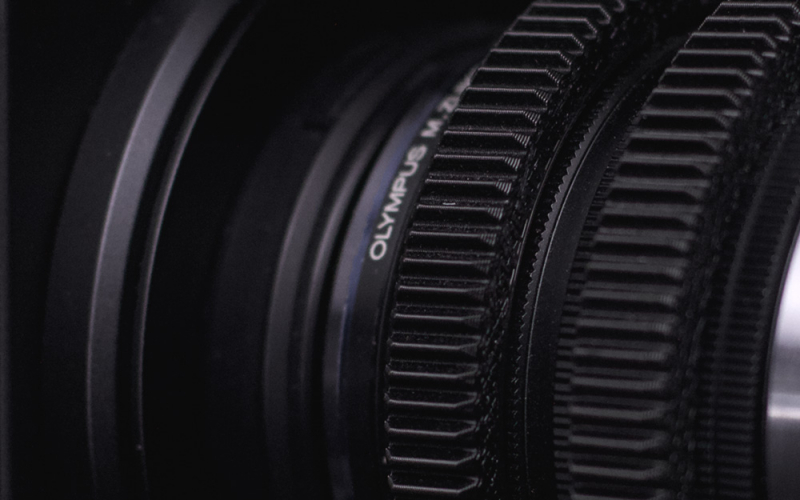
The Z CAM models come with various sensor sizes, and we have mounted an Olympus 12-40 zoom lens on the E2-M4 Micro Four Third (MFT) mount. That’s an affordable lens with incredible image quality that’s difficult to match in the same price range. The mounting system is interchangeable so that EF, M, and PL-mount lenses can be used.
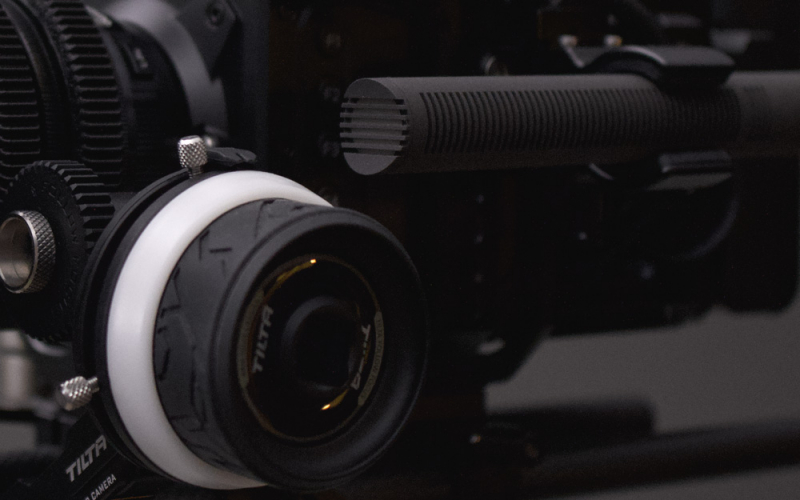
The lens is also equipped with a Tiltaing Mini Follow Focus attached to 15mm carbon rods from Smallrig. Remember, most non-cine lenses do not have built-in 0.8 module gearing for use with follow focus systems, so follow focus gear rings will be required.
We went for cinema gears from Outlast, provided by Couto Camera for both the focus and aperture barrels, and they sit nicely on the lens without any sign of wiggle. Couto build cinema gears for every lens available at any size and ships very quickly worldwide. It’s important to know that alternative ultra-rigid gears, like aluminum, can make noise during pulls, but these are near-silent against the focus find, which is important when we have a shotgun microphone mounted on the camera.
MATTE BOX AND STEP-UP-RINGS
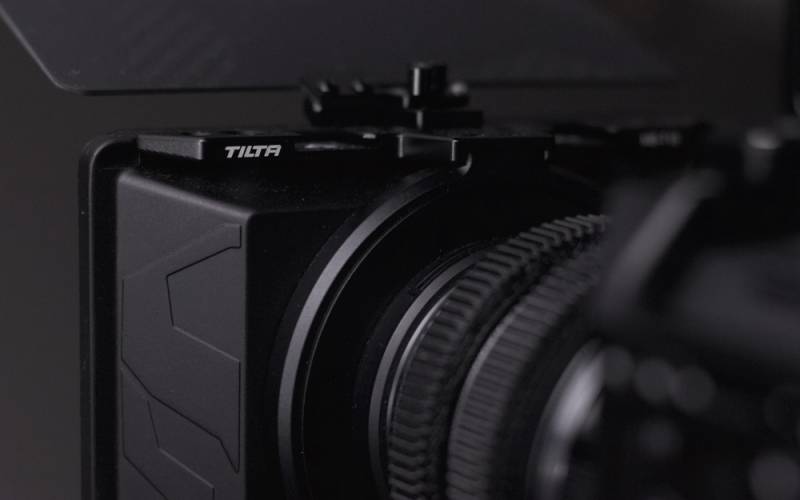
We wanted a lightweight matte box to help prevent light flares, and thus, went for Tiltas. It’s probably the smallest solution on the market and designed to be mounted directly onto the lens. However, the problem we encountered was that the matte box didn’t fit our lens because the kit only contains a small set of adapter rings (82mm, 77mm, 67mm, 72mm).
Luckily, Couto came to our rescue once again and supplied us with filter threads step-up-rings that worked well with our matte box.
MEDIA MANAGEMENT
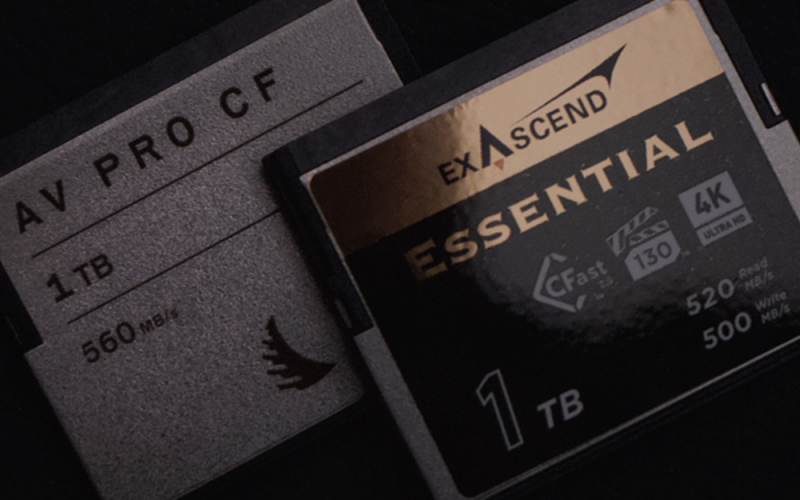
CFast 2.0 cards are the most common recording media for high-end cinema cameras, but unfortunately, not all of them are qualified by Z CAM. Loading unqualified media can result in dropped frames and a lack of ability to recording in certain compression ratios.
Exascend and Angelbird offer qualified CFast 2.0 cards built for Z CAM, and they are known to be the most reliable high-speed cards available on the market.
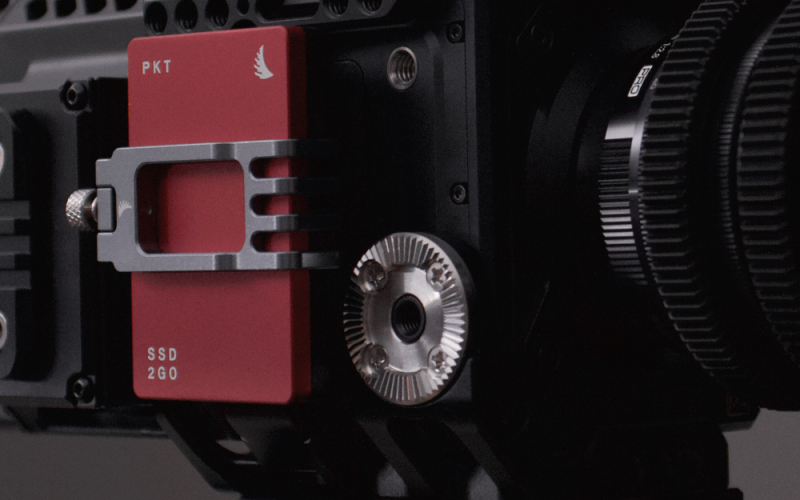
Additionally, you have the option to record directly to Angelbirds portable up-to-2TB SSD disks. These are super small, rugged, and fast portable devices built to fight dust, moisture, high temperatures, magnetic and x-rays, and can be connected with USB-C.
CABLE MANAGEMENT
Good cable management is a must, but it can be complicated to navigate through the different options. Alvin Cables is a reputable company that makes customizable cables for cinema cameras that you can consult with and buy from.
We have used a 2 Pin Lomo to D-Tap to power the IDX mount, and a cable with a 2 Pin right-angled Lomo in both ends to power the DXA RED.
To carry the audio signal between the DXA RED and Z CAM, we have used a 5 Pin Lemo to 3.5mm TRS mini plug, and the microphone is connected with a 3 Pin XLR male to female shielded cable.
To connect the Shinobi Monitor, we have used a 0.6m straight to right-angled HDMI cable from Cerrxian.
For the finishing touch, we have used a nice little camera management device called 'Sprig.' It helps organize your cables along the surfaces of the cage. We choose black 1/4-20 Sprigs, but they are also available in various colors and sizes 3/8-16.
Good luck building your camera!
This post might include affiliate agreements, for full information click here.
-
 4
4
-
 2
2
Recommended Comments
Join the conversation
You can post now and register later. If you have an account, sign in now to post with your account.
Note: Your post will require moderator approval before it will be visible.